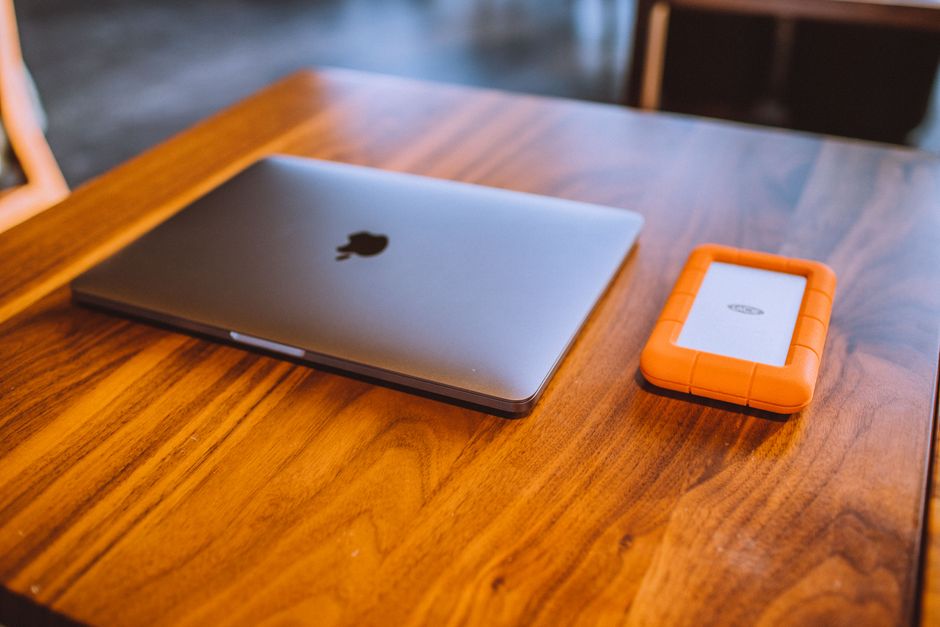
If your mechanical external hard drive constantly spins down to idle only to spin right back up a minute later, you are not alone. On modern macOS versions and Apple Silicon Macs, external spinning drives frequently get caught in an endless start-stop loop.
This behavior is frustrating to listen to, can cause system stalls when Finder waits for disks to wake, and causes unnecessary mechanical wear on drive heads and spindle motors.
Why this happens
Three main factors cause external drives to cycle power continuously on macOS:
- Background Indexing and Daemons: Background services like Spotlight (
mds), Time Machine, andfseventsdperiodically check connected storage. If an external drive goes idle, a background query from one of these processes forces the drive to spin up immediately to read metadata. - Aggressive Enclosure Firmware: Many external hard drive enclosures and multi-drive docks contain their own internal controller chips (such as ASMedia or JMicron). These controllers often run proprietary firmware with an aggressive 1- to 3-minute sleep timer that operates completely independently of macOS power settings.
- macOS DarkWake Cycles: Modern Macs enter a low-power maintenance state during sleep known as DarkWake. The Mac periodically checks for network events, updates, and peripheral states while the screen stays black, which triggers connected USB buses and spins up external platters.
Here is how to stop the cycle.
Fixes to try
1. Disable disk sleep and network wake in macOS
The first step is ensuring macOS is not ordering the drive to sleep while system services still actively query it.
- Open the Apple menu and select System Settings.
- In the sidebar, select Energy Saver (on a desktop Mac) or Battery (on a MacBook).
- If you are on a MacBook, click Options at the bottom right of the Battery pane.
- Locate Put hard disks to sleep when possible and set it to Never.
- Locate Wake for network access and change it to Never.
- To apply these rules definitively across all power states, open the Terminal app (via Applications > Utilities > Terminal) and enter:
bash

sudo pmset -a disksleep 0 - Type your administrator password when prompted and press Enter.
Setting disksleep to 0 tells macOS never to send the software sleep command to connected disks.
2. Exclude the drive from Spotlight indexing
Spotlight is the single most common reason a drive spins up right after spinning down. When files are modified anywhere on your system, Spotlight frequently queries secondary volumes, forcing idle platters to spin back up.
- Connect your external drive and ensure it mounts on your desktop or in Finder.
- Open System Settings > Siri & Spotlight.
- Scroll to the bottom of the window and click the Spotlight Privacy button.
- Click the + (Add) button.
- Select your external hard drive volume from the sidebar and click Choose.
- Verify the volume appears in the list of locations Spotlight is prevented from searching, then click Done.
If you store large media libraries on the drive and do not rely on Spotlight to search them, this single change stops routine read interruptions.
3. Check for background process activity
If a specific background process keeps polling your drive, identify it through the command line rather than guessing.
- Open Terminal.
- Run the following command to monitor file system activity targeting your drive (replace
DriveNamewith the actual name of your mounted drive volume):
bash

sudo fs_usage -w -f filesys | grep -i "/Volumes/DriveName" - Press Enter and watch the output for 1 to 2 minutes.
- Note the process names in the left-hand column. Common offenders include cloud backup agents, antivirus scanners, and torrent clients.
- Press Control + C in Terminal to end the monitoring session.
- Open the settings of the identified application and exclude the external volume from real-time monitoring.
4. Use a keepalive script to override enclosure firmware
If you disabled disksleep and excluded the drive from Spotlight, but the drive still spins down every 2 to 3 minutes, your hard drive enclosure’s internal controller is enforcing its own sleep timer.
Because the enclosure ignores macOS sleep settings, the most reliable workaround is to keep the drive active by writing a harmless timestamp file every 60 seconds.
- Open Terminal.
- Create a hidden keepalive script by running:
bash

nano ~/keepalive.sh - Paste the following script (replace
YourDriveNamewith your exact external drive volume name):
bash

   #!/bin/bash

   while true; do

       if [ -d "/Volumes/YourDriveName" ]; then

           touch "/Volumes/YourDriveName/.keepalive"

       fi

       sleep 60

done - Press Control + O, then Enter to save the file. Press Control + X to exit nano.
- Make the script executable:
bash

chmod +x ~/keepalive.sh - You can run this in the background while your drive is mounted with:
bash

   nohup ~/keepalive.sh > /dev/null 2>&1 &
Updating the modification date of a single hidden file resets the enclosure’s internal idle counter without straining the drive.
5. Connect directly to avoid USB hub resets
Unpowered USB hubs and certain multi-port Thunderbolt docks drop bus voltage momentarily when other devices negotiate power or disconnect. This causes the external hard drive to reset its interface, triggering a power cycle.
- Unplug the external drive from your dock or hub.
- Connect the drive directly to a Thunderbolt / USB-C port on your Mac using an appropriate certified cable.
- If your drive enclosure requires external AC power, ensure it is plugged into a wall outlet rather than drawing power exclusively over the USB bus.
- If the issue disappears when connected directly, replace the hub or use a powered dock that provides dedicated, uninterrupted wattage to each port.
If nothing works
If the drive continues to spin up and down despite all software modifications and a direct connection, the enclosure’s controller may be failing or incompatible with macOS USB power delivery.
- Back up immediately: Frequent cycling can cause mechanical heads to park prematurely. Copy your critical files to an alternate drive or cloud storage before proceeding.
- Swap the enclosure: If the drive inside is standard SATA, remove it from its current housing and place it into a different external enclosure or dock from a reputable brand known for macOS compatibility (such as OWC).
- Check drive health: Connect the drive and run First Aid in Disk Utility (located in Applications > Utilities). If the drive reports I/O errors or fails verification, the physical hardware is deteriorating and requires replacement.
FAQ
Does spinning up and down damage the hard drive?
Yes. Mechanical hard drives experience the highest physical stress and power draw during spin-up, as the spindle motor accelerates the platters and the read/write heads unpark. Constant cycles every few minutes degrade the drive’s mechanical lifespan much faster than continuous operation.
Why does my drive spin up even when the Mac is asleep?
Modern Macs perform background maintenance tasks during sleep through DarkWake. During these brief intervals, the system checks network alerts, mail, and connected accessories. When macOS checks the USB bus, it provides power that wakes connected external drives even if your display remains off.
Does this issue affect external solid-state drives (SSDs)?
No. SSDs have no moving platters, motors, or physical heads. While an SSD also responds to system sleep and idle commands, it switches power states instantly and silently with zero mechanical wear.